understand that when we give a digital device an input, the device processes it and produces an output
can use an application to create original content.
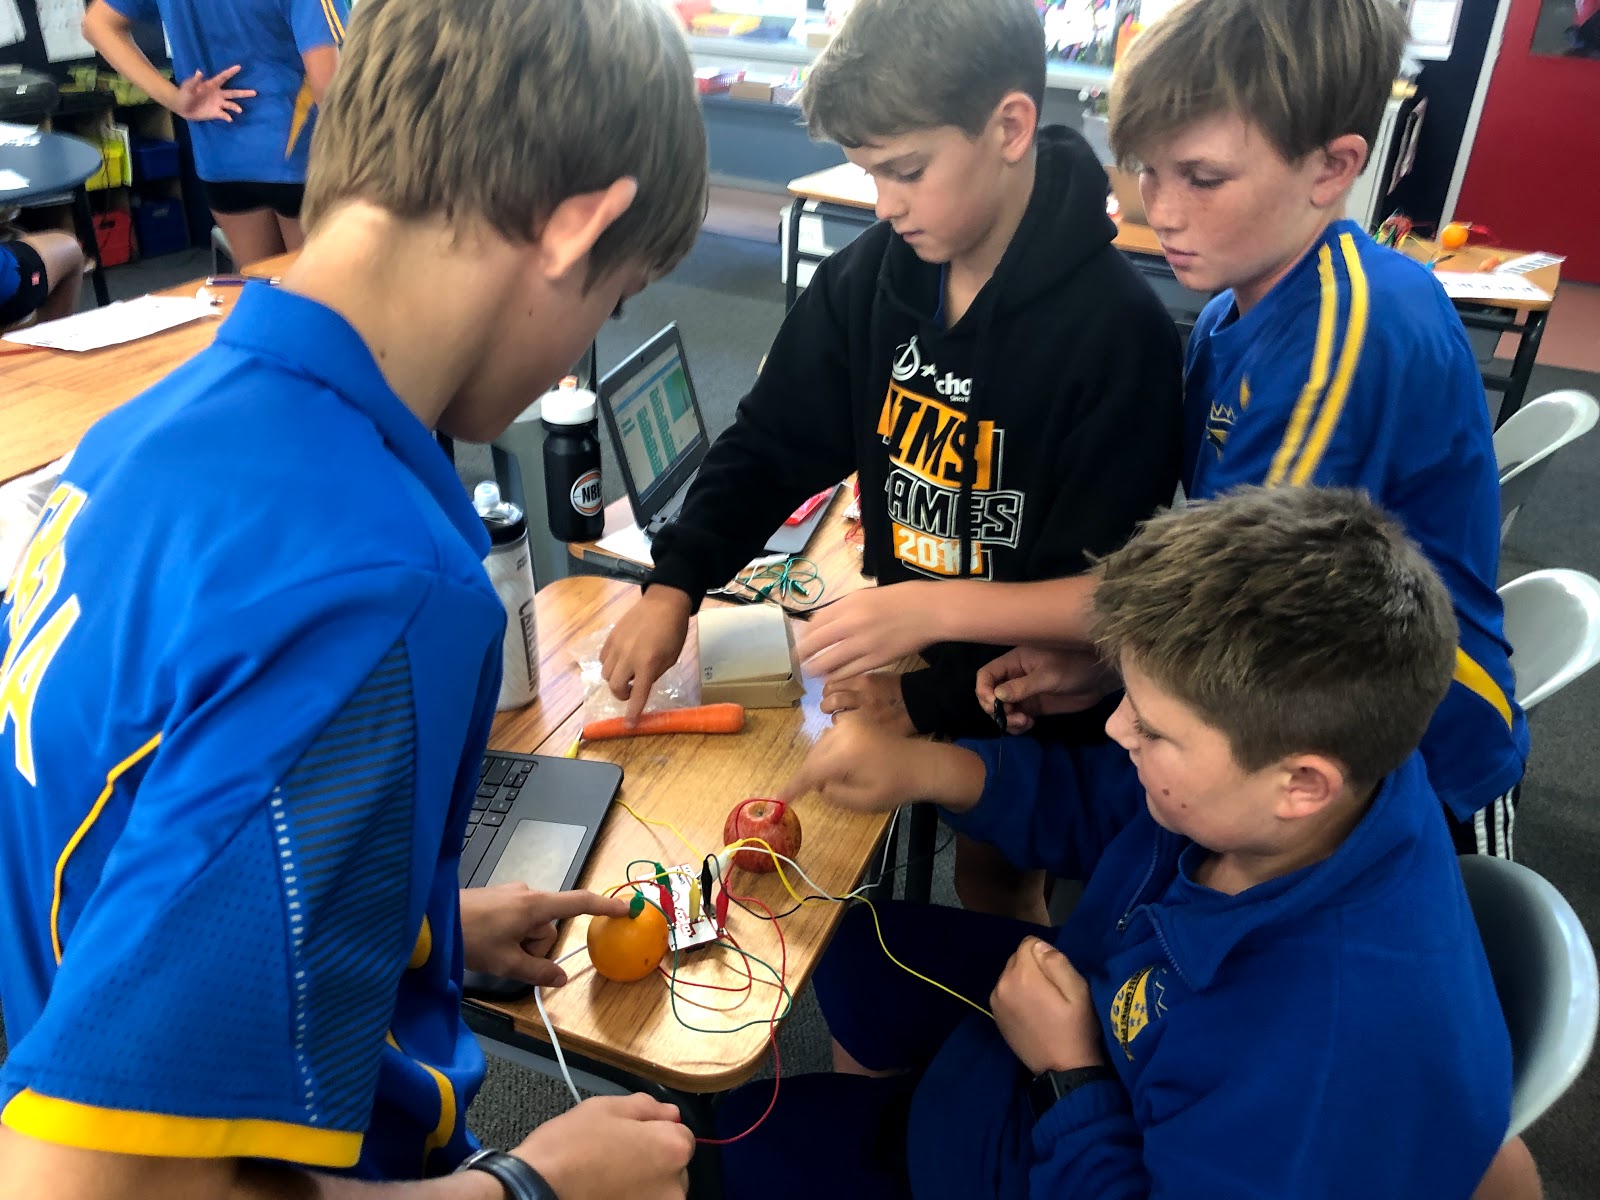
Our school recently purchased a set of makey makeys. After teaching the classes how to use scratch I introduced the makey makeys.
I began by showing them an example of a circuit i had made out of carrots, celery, play dough and bananas. We listened to the each object make a musical note and when joined a closed circuit as a class to produce a sound.
After watching a video clip about makey makey http://makeymakey.com/ we then discussed what objects were insulators and conductors of electricity.
Their task was to find 5 objects from around the school that were conductors of electricity and set them up to produce a closed circuit and to play a tune.
A range of materials were used
Each of the students did this very well. They had to problem solve if the circuit wasn't working. Some common mistakes were
not having a wire earthed
not touching the earthed wire when they were trying to get sound
using a object that wasn't conductive
They worked through this very well and progressed on to making music by using on of the makey makey apps. Piano or bongo drums
Double earthed wires required collaboration
Lead from the pencil worked well
So much engagement from the class
They discovered they could use parts of their bodies- or other peoples!
All that hair came in handy!
Team work for a closed circuit
Honk Honk!
All ages enjoyed this
Playdough made great keys
SCRATCH
Some of the students who were a bit more competent were able to progress onto scratch. They were able to use code to make music playing notes on different instruments.
We discussed what they would choose to be their super power if they could be a super hero. They came up with lots of ideas and wrote them down, along with a super hero name.
Using green screen- the class took a photo of their partners in a super hero pose.
Using super impose app they masked their photo and turned it into a silhouette and got rid of the back ground.
They searched for a super hero background and used placed their photo on top of it.
Reinforcing the techniques they had learnt using google drawings, the students incorporated a maths revision lesson. They were given a list of tasks to complete. Carefully using the tools and shapes buttons they were able to draw and create shapes and lines.
Finally after waiting all year for the app to be downloaded onto our school i pads, I was able to introduce this to my class.
My main purpose of using superimpose was to get the students to use green screen, import and upload photos and use the tools such as magic wand and colour contrasting.
It was a lot of fun and the students worked hard at creating different poses and then uploaded a range of photos to use as a background. The trick was to make it look like they were actually in the background originally to make the photo seem more life like.
Our problem at the start was getting their feet in the photo. We worked out that if we added some green paper to the floor that this would fix this problem. Others tried to make out that they were flying or sitting and overcome this by using paper and holding different positions.
It was great to see the kids take their time and carefully make the brush as small as possible to make sure they got rid of all signs of green.
Once they had finished theirs they then had a play around and tried to change the colour and made silhouettes